-
-
-
-
-
-
-
-
-
-
-
-
Components
-
General
-
Layout
-
Navigation
-
Data Entry
-
Data Display
-
Feedback
-
Other
-
-
-
-
创建一个nginx示例
概述
现在从搭建一个最简单的nginx作为入门,开始我们的 Choerodon 之旅吧。
目标
本章节将从创建应用、部署应用、配置网络、配置域名等操作,让读者能够学会使用Choerodon搭建一个最简单的nginx。
前置条件
1. 在操作之前保证系统配置已经配置完全。
2. 在本章节用到的角色、网络和域名、环境管理等已配置完全。
操作步骤
第一步: 点击左侧菜单栏,选择应用管理,点开应用。
第二步: 点击创建应用(确保已拥有该权限)。输入编码和名称,选择空模板。更多相关信息以及详细操作步骤参考创建前端应用或者创建后端应用
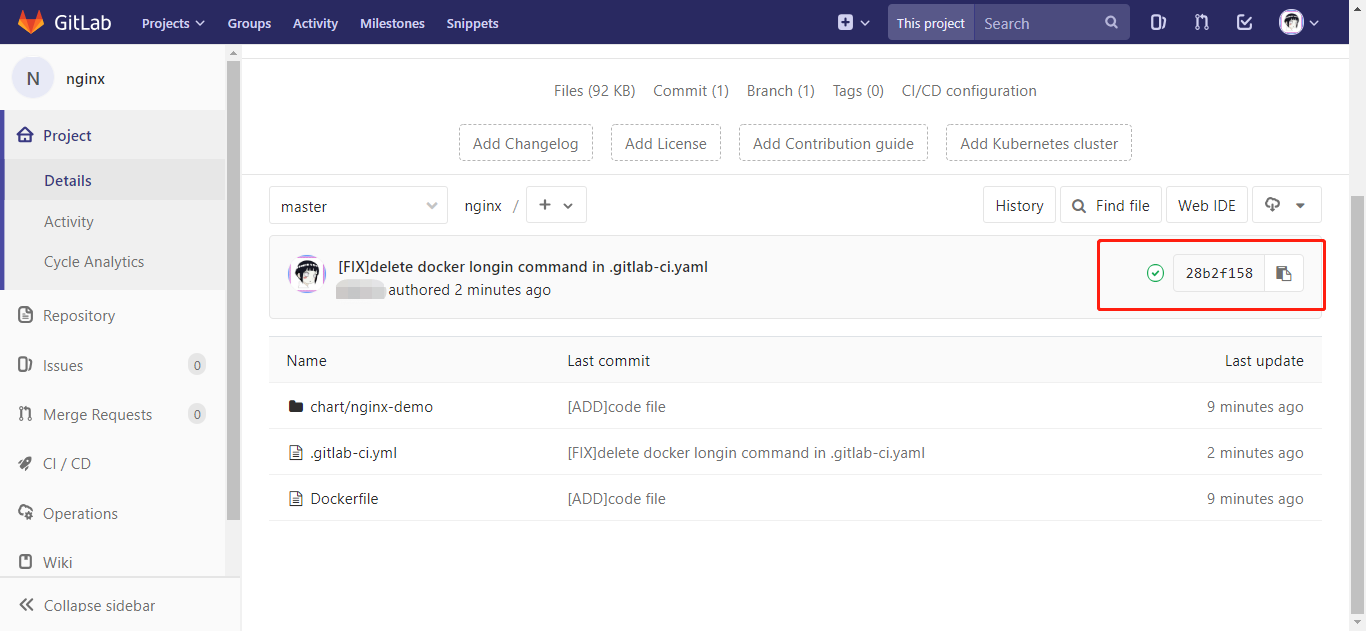
第三步: 创建成功后会出现应用的 gitlab 地址。
第四步: 点进该链接,把代码仓库克隆至本地。然后在项目根目录下添加 Dockerfile 文件,内容如下:
FROM nginx:1.13.5-alpine
在项目根目录下添加 .gitlab-ci.yml 文件,内容如下:
image: registry.cn-hangzhou.aliyuncs.com/choerodon-tools/cibase:0.7.0

stages:
  - chart_build

chart_build:
  stage: chart_build
  script:
    - docker login -u ${DOCKER_USER} -p ${DOCKER_PWD} ${DOCKER_REGISTRY}
    - docker build --pull -t ${DOCKER_REGISTRY}/${GROUP_NAME}/${PROJECT_NAME}:${CI_COMMIT_TAG} .
    - docker push ${DOCKER_REGISTRY}/${GROUP_NAME}/${PROJECT_NAME}:${CI_COMMIT_TAG}
    - chart_build

.auto_devops: &auto_devops |
    http_status_code=`curl -o .auto_devops.sh -s -m 10 --connect-timeout 10 -w %{http_code} "${CHOERODON_URL}/devops/ci?token=${Token}"`
    if [ "$http_status_code" != "200" ]; then
      cat .auto_devops.sh
      exit 1
    fi
    source .auto_devops.sh

before_script:
  - *auto_devops
在项目根目录下创建 chart/nginx 文件夹目录,注意这里的 nginx 要与应用名相同,若不同这以应用名为准,即 chart/应用名 为目录。 在 chart/nginx 目录下创建 Chart.yaml 文件,内容如下:
apiVersion: v1
appVersion: "1.0"
description: A Helm chart for Kubernetes
name: nginx #此值也必须与应用名相同
version: 0.1.2
在 chart/nginx 目录下创建 .helmignore 文件,内容如下:
# Patterns to ignore when building packages.
# This supports shell glob matching, relative path matching, and
# negation (prefixed with !). Only one pattern per line.
.DS_Store
# Common VCS dirs
.git/
.gitignore
.bzr/
.bzrignore
.hg/
.hgignore
.svn/
# Common backup files
*.swp
*.bak
*.tmp
*~
# Various IDEs
.project
.idea/
*.tmproj
在 chart/nginx 目录下创建 values.yaml 文件,内容如下:
replicaCount: 1

image:
  repository: nginx

metrics:
  path: /prometheus
  group: nginx

logs:
  parser: nginx
在 chart/nginx 目录下新建 templates 文件夹,然后在 templates 目录下创建 _helpers.tpl 文件,内容如下:
{{- define "service.labels.standard" -}}
choerodon.io/release: {{ .Release.Name | quote }}
{{- end -}}

{{- define "service.logging.deployment.label" -}}
choerodon.io/logs-parser: {{ .Values.logs.parser | quote }}
{{- end -}}

{{- define "service.monitoring.pod.annotations" -}}
choerodon.io/metrics-group: {{ .Values.metrics.group | quote }}
choerodon.io/metrics-path: {{ .Values.metrics.path | quote }}
{{- end -}}
在 templates 目录下创建 deployment.yaml 文件,内容如下:
apiVersion: extensions/v1beta1
kind: Deployment
metadata:
  name: {{ .Release.Name }}
  labels:
{{ include "service.labels.standard" . | indent 4 }}
{{ include "service.logging.deployment.label" . | indent 4 }}
  name: {{ .Release.Name }}
spec:
  replicas: {{ .Values.replicaCount }}
  template:
    metadata:
      annotations:
{{ include "service.monitoring.pod.annotations" . | indent 8 }}
      labels:
{{ include "service.labels.standard" . | indent 8 }}
    spec:
      containers:
      - name: {{ .Release.Name }}
        image: "{{ .Values.image.repository }}:{{ .Chart.Version }}"
        env:
        - name: FOOBAR
          value: {{ .Chart.Version | quote }}
        ports:
        - containerPort: 80
          name: http
        resources:
{{ toYaml .Values.resources | indent 10 }}
        volumeMounts:
        - mountPath: /usr/share/nginx/html/index.html
          name: config
          subPath: index.html
      volumes:
      - configMap:
          defaultMode: 420
          name: {{ .Release.Name }}-cm
          items:
          - key: index.html
            path: index.html
        name: config
在 templates 目录下创建 configmap.yaml 文件,内容如下:
apiVersion: v1
kind: ConfigMap
metadata:
  name: {{ .Release.Name }}-cm
data:
  index.html: |
    <!DOCTYPE html>
    <html>
    <head>
    <title>Welcome to nginx!</title>
    <style>
        body {
            width: 35em;
            margin: 0 auto;
            font-family: Tahoma, Verdana, Arial, sans-serif;
        }
    </style>
    </head>
    <body>
    <h1>Verison:{{ .Chart.Version | quote }}</h1>
    <p>If you see this page, the nginx web server is successfully installed and
    working. Further configuration is required.</p >

    <p>For online documentation and support please refer to
    <a href=" ">nginx.org</a >.<br/>
    Commercial support is available at
    <a href="http://nginx.com/">nginx.com</a >.</p >

    <p><em>Thank you for using nginx.</em></p >
    </body>
    </html>
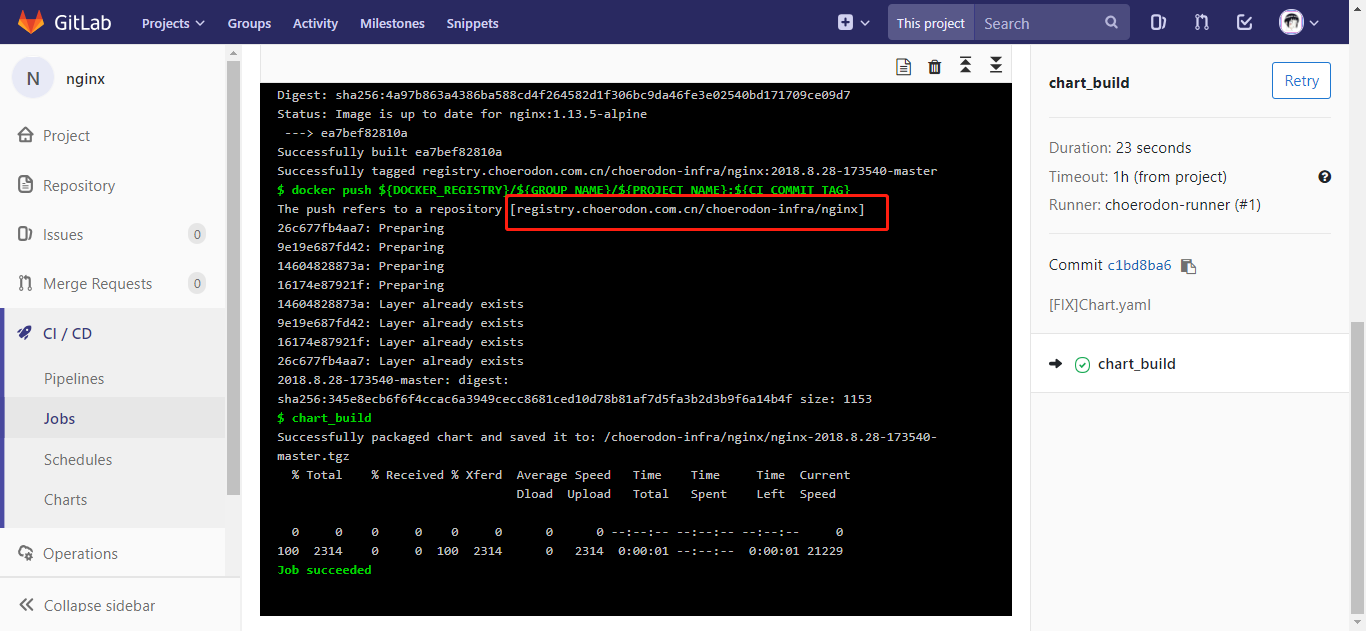
最后,将代码push到远程仓库,等待ci跑完就可以部署这个应用了。
确保镜像打包成功。
第五步: 进行应用部署。更多相关信息以及详细操作步骤参考部署一个应用。
使用项目所有者或已被分配目标环境权限的项目成员角色的角色登录Choerodon系统,选择项目。
进入
部署流水线模块,选择应用部署进入应用部署界面。选择应用,按照步骤条完成信息选择。选择
新建实例。如果此应用在该环境中已有部署的实例,则可以选择替换实例,替换实例会更新该实例的镜像及配置信息,未修改配置信息或版本相同不可选择替换实例。点击部署按钮后,页面自动跳转到
实例页面。
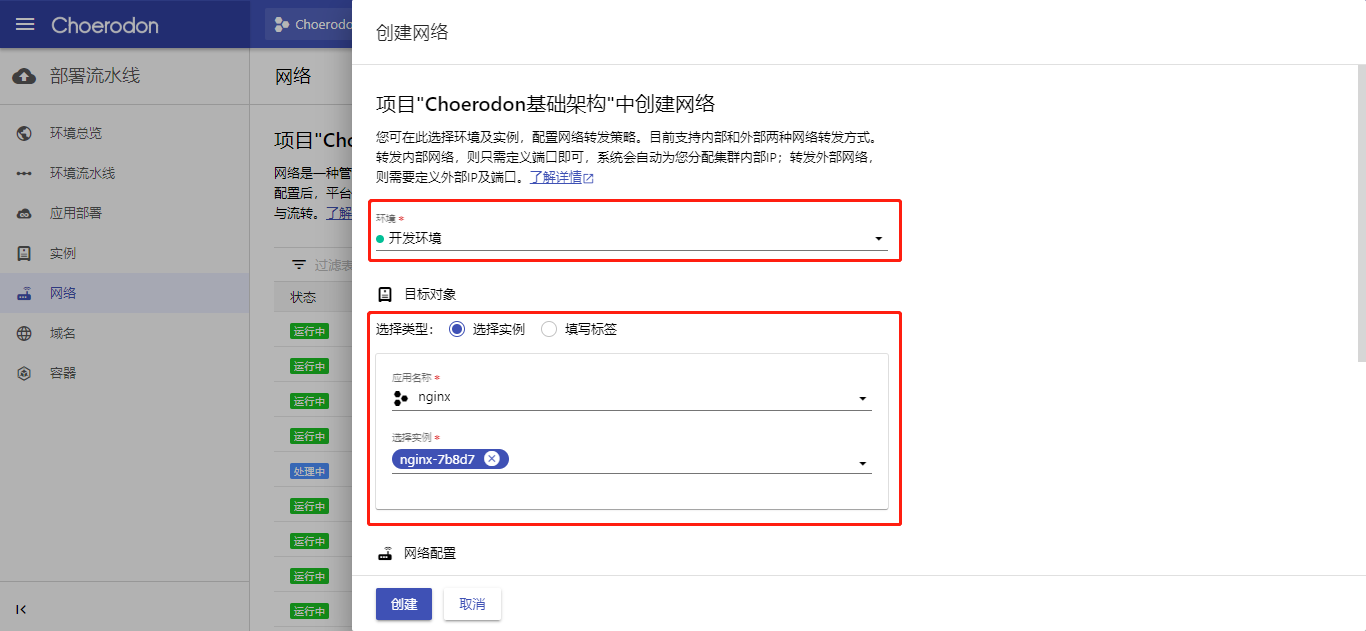
第六步: 创建成功后,前往 网络 界面,为刚刚部署好的应用创建网络。更多相关信息以及详细操作步骤参考配置网络和域名。
使用项目所有者或已被分配目标环境权限的项目成员角色的角色登录Choerodon系统,选择项目。
进入
部署流水线模块,选择网络。点击
创建网络按钮,输入信息,创建网络。
- 添加端口号。
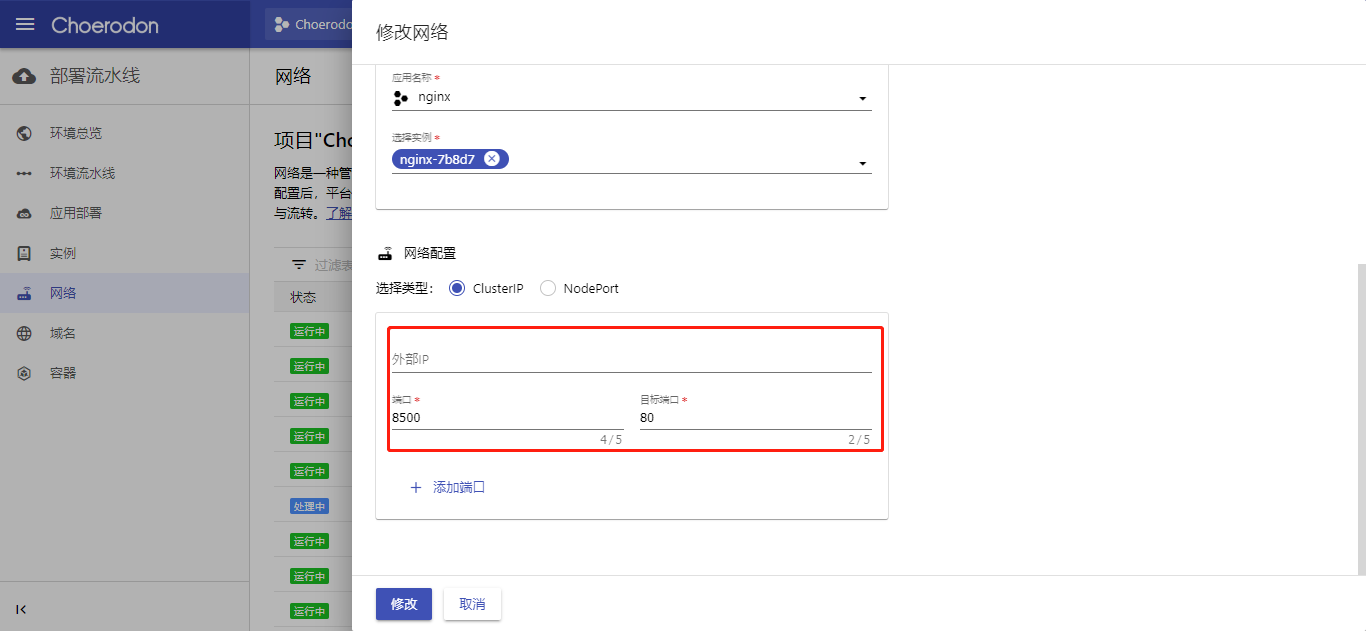
- 网络创建成功,可在
部署流水线->网络页面查看创建的网络。
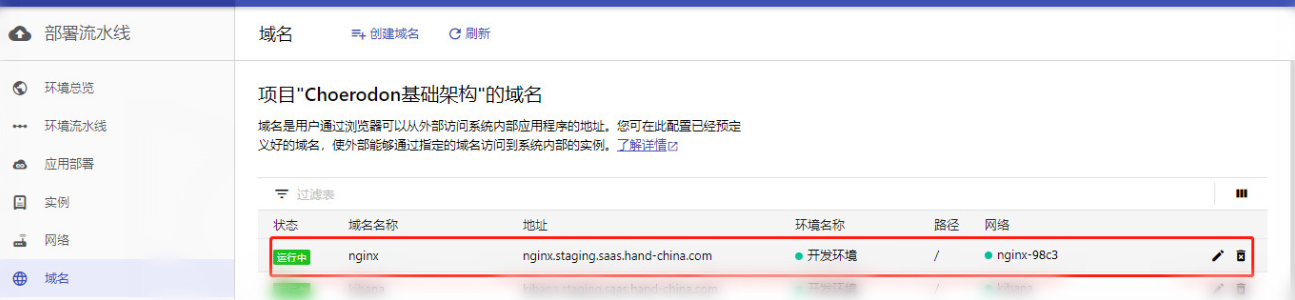
第七步: 网络创建成功后,前往 域名 界面,为创建的网络绑定域名。更多相关信息以及详细操作步骤参考配置网络和域名。
使用项目所有者或已被分配目标环境权限的项目成员角色的角色登录Choerodon系统,选择项目。
进入
部署流水线模块,选择域名。点击
创建域名按钮 ,输入信息,创建域名。域名创建成功,可在
部署流水线->域名界面查看已创建的域名。
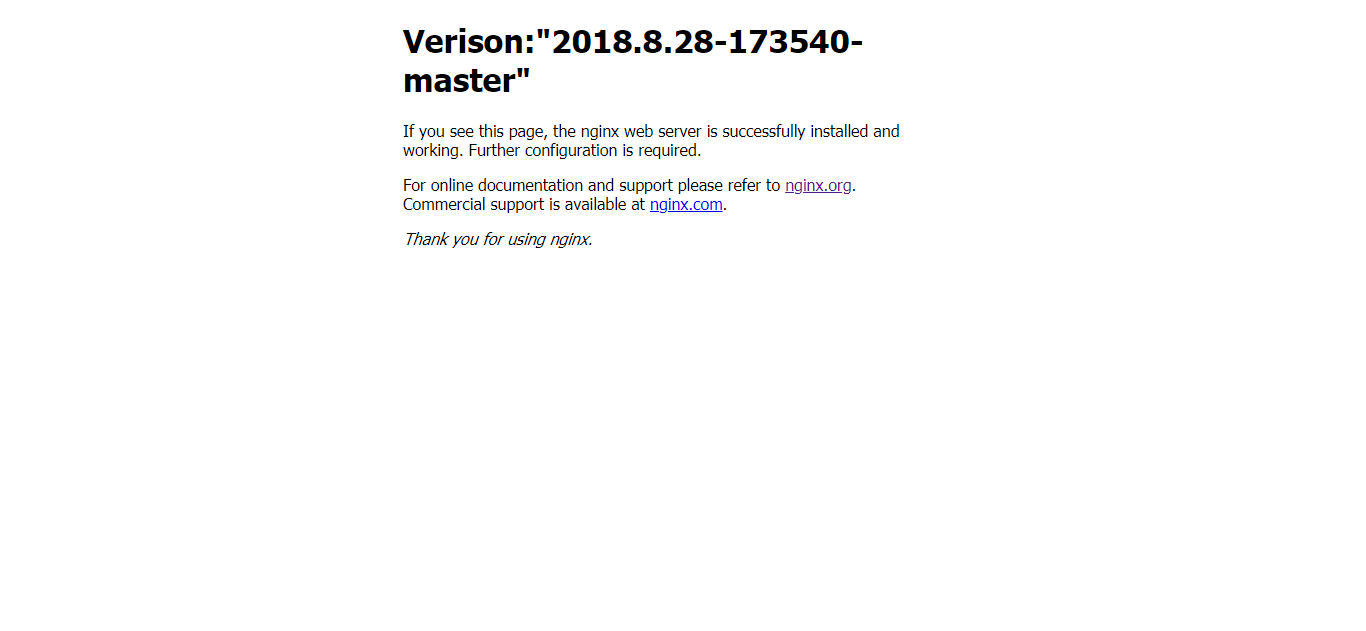
- 绑定完成,访问该域名,出现下面结果即说明创建 nginx 成功。